

Friday, May 9, 2014

Wednesday, May 7, 2014


Sunday, May 4, 2014
May 4, 2014 - May the Fourth Be With You! (and homemade anvils...)
Sorry, being Star Wars Day (5/4 - May the Fourth), I had to throw that in to this otherwise non-typewriter related post.
Courtesy of inspiration from this site on making your own anvil from rail road track, I set about to legally acquire some virgin RR track, and fabricate my own anvil. Largely because actual, quality anvils of a size that makes them useful (300+ pounds), are prohibitively expensive.
There are a few ways that folks have used RR track for anvil purposes, but most are considered "anvil shaped devices" that really do not serve the purpose of an anvil in the sense of its ability to absorb and impart force on metal due to its mass.
So those little pieces of RR track that have been cleverly ground into an "Anvil Shaped Device" are not what I have been after, but rather, something approximating the mass and characteristics of a fully fledged blacksmith's anvil.
So, how do you turn this:


Into this?
The fact of the matter is that you cannot. But that said, there are ways to get you close, you just have to weigh your compromises.
In my research, there was one design that really caught my eye. It ingeniously uses the mass of the vertical track segment to "simulate" the body and mass of an actual anvil. The "sweet spot" (where the center of mass of the anvil seems to be) is much, much smaller on this anvil, but with that compromise, you also gain space and mobility. This 100 pound anvil ACTS like a 350-500 pound anvil.
This is NOT your average "I made an anvil from a hunk of RR track" anvil, which usually look pretty great, but are actually very (very) poor anvils (because they lack mass and are springy) - they tend to look like these.
With my design roughly planned out, I set out to LEGALLY acquire the requisite RR track. I finally located a local railway repair depot, where they had a lot of scrap and the foreman was willing to let me have a couple of pieces because I was using it for a legitimate project (not just trying to flip the steel for a buck), and last night I set about grinding and welding the mating surfaces.
The track segments have been in my barn for about a year, and inspired by the inquisitive nature of one of my sons, namely his question, "Why haven't you done anything with the anvil project?" I decided to do something about it.
Sorry for the bad pictures, it was dark when I finished and the iPhone seems to have focused to infinity, but here are the initial pics (9 welding rods later):


Ultimately this will help me with some typewriter repairs. I have carefully hammered out dents from typewriter shells and frames, using the sorry excuse for the anvil-ends of my bench vises, but having this nice big hunk of steel around for serious metal working, will be a welcomed addition to my workshop - once it's finished.
Courtesy of inspiration from this site on making your own anvil from rail road track, I set about to legally acquire some virgin RR track, and fabricate my own anvil. Largely because actual, quality anvils of a size that makes them useful (300+ pounds), are prohibitively expensive.
There are a few ways that folks have used RR track for anvil purposes, but most are considered "anvil shaped devices" that really do not serve the purpose of an anvil in the sense of its ability to absorb and impart force on metal due to its mass.
So those little pieces of RR track that have been cleverly ground into an "Anvil Shaped Device" are not what I have been after, but rather, something approximating the mass and characteristics of a fully fledged blacksmith's anvil.
So, how do you turn this:
Into this?
 |
| image courtesy of: http://www.abana.org/resources/discus/messages/2662/2663.html?1374210247 |
The fact of the matter is that you cannot. But that said, there are ways to get you close, you just have to weigh your compromises.
In my research, there was one design that really caught my eye. It ingeniously uses the mass of the vertical track segment to "simulate" the body and mass of an actual anvil. The "sweet spot" (where the center of mass of the anvil seems to be) is much, much smaller on this anvil, but with that compromise, you also gain space and mobility. This 100 pound anvil ACTS like a 350-500 pound anvil.
 |
| image courtesy of : http://www.anvilfire.com/21centbs/anvils/making/RR-rail_anvils.php |
With my design roughly planned out, I set out to LEGALLY acquire the requisite RR track. I finally located a local railway repair depot, where they had a lot of scrap and the foreman was willing to let me have a couple of pieces because I was using it for a legitimate project (not just trying to flip the steel for a buck), and last night I set about grinding and welding the mating surfaces.
The track segments have been in my barn for about a year, and inspired by the inquisitive nature of one of my sons, namely his question, "Why haven't you done anything with the anvil project?" I decided to do something about it.
Sorry for the bad pictures, it was dark when I finished and the iPhone seems to have focused to infinity, but here are the initial pics (9 welding rods later):
The next steps will be mating the vertical segment into a tree stump base, so that I can work with it, and then cutting and grinding the head into something looking more like an anvil.
The RR track I got has the added advantage of not having been hardened/heat treated, so I did not need to cut-and-flip the rail, and could use it as-is. So I have that going for me ....... which is nice. :-)
Ultimately this will help me with some typewriter repairs. I have carefully hammered out dents from typewriter shells and frames, using the sorry excuse for the anvil-ends of my bench vises, but having this nice big hunk of steel around for serious metal working, will be a welcomed addition to my workshop - once it's finished.
Friday, May 2, 2014
May 2, 2014 - Happy Birthday to Me!
My amazing wife found this for me.


First edition, First printing!!
Howard Hutchison's "Typewriter Repair Manual" - I am nearly speechless! The thing is in mint condition, so I hardly even want to crack it open!! :-)
Thursday, May 1, 2014
May 1, 2014 - YOU (we) DID IT! Shipping John Lavery's Machine....... Part TWO *UPDATED*

You folks, and you know who you are, ROCK!
Now on to the second hardest part ... packing and shipping.
Phase 2 of this project is well under way now.
The internal skeletal "crate" is now built, and I am wrapping it in a custom cardboard container. Once the cardboard is done, the internal packing and reinforcements will take place, and I'll have a final weight for the shipping company.
I chose to mount the machine on cleats that are attached to a sheet of luan plywood. This is just to try to stabilize it as much as possible inside the crate. There will be styrofoam and various other foams and bags of foam inside the crate to cradle this baby overseas.
Inside that cocoon is a locked down typewriter. The carriage is completely disengaged from the escapement, and it is locked in place with wire ties in multiple places. The carriage ends are ensconced in egg carton. The keyboard is covered in foam. The whole lot is bundled up tightly with packing wrap, and the leading and trailing edges are protected with 1/8" cardboard L-shaped reinforcements.


The crate skeleton is done, and the outer shell is being moulded around it:
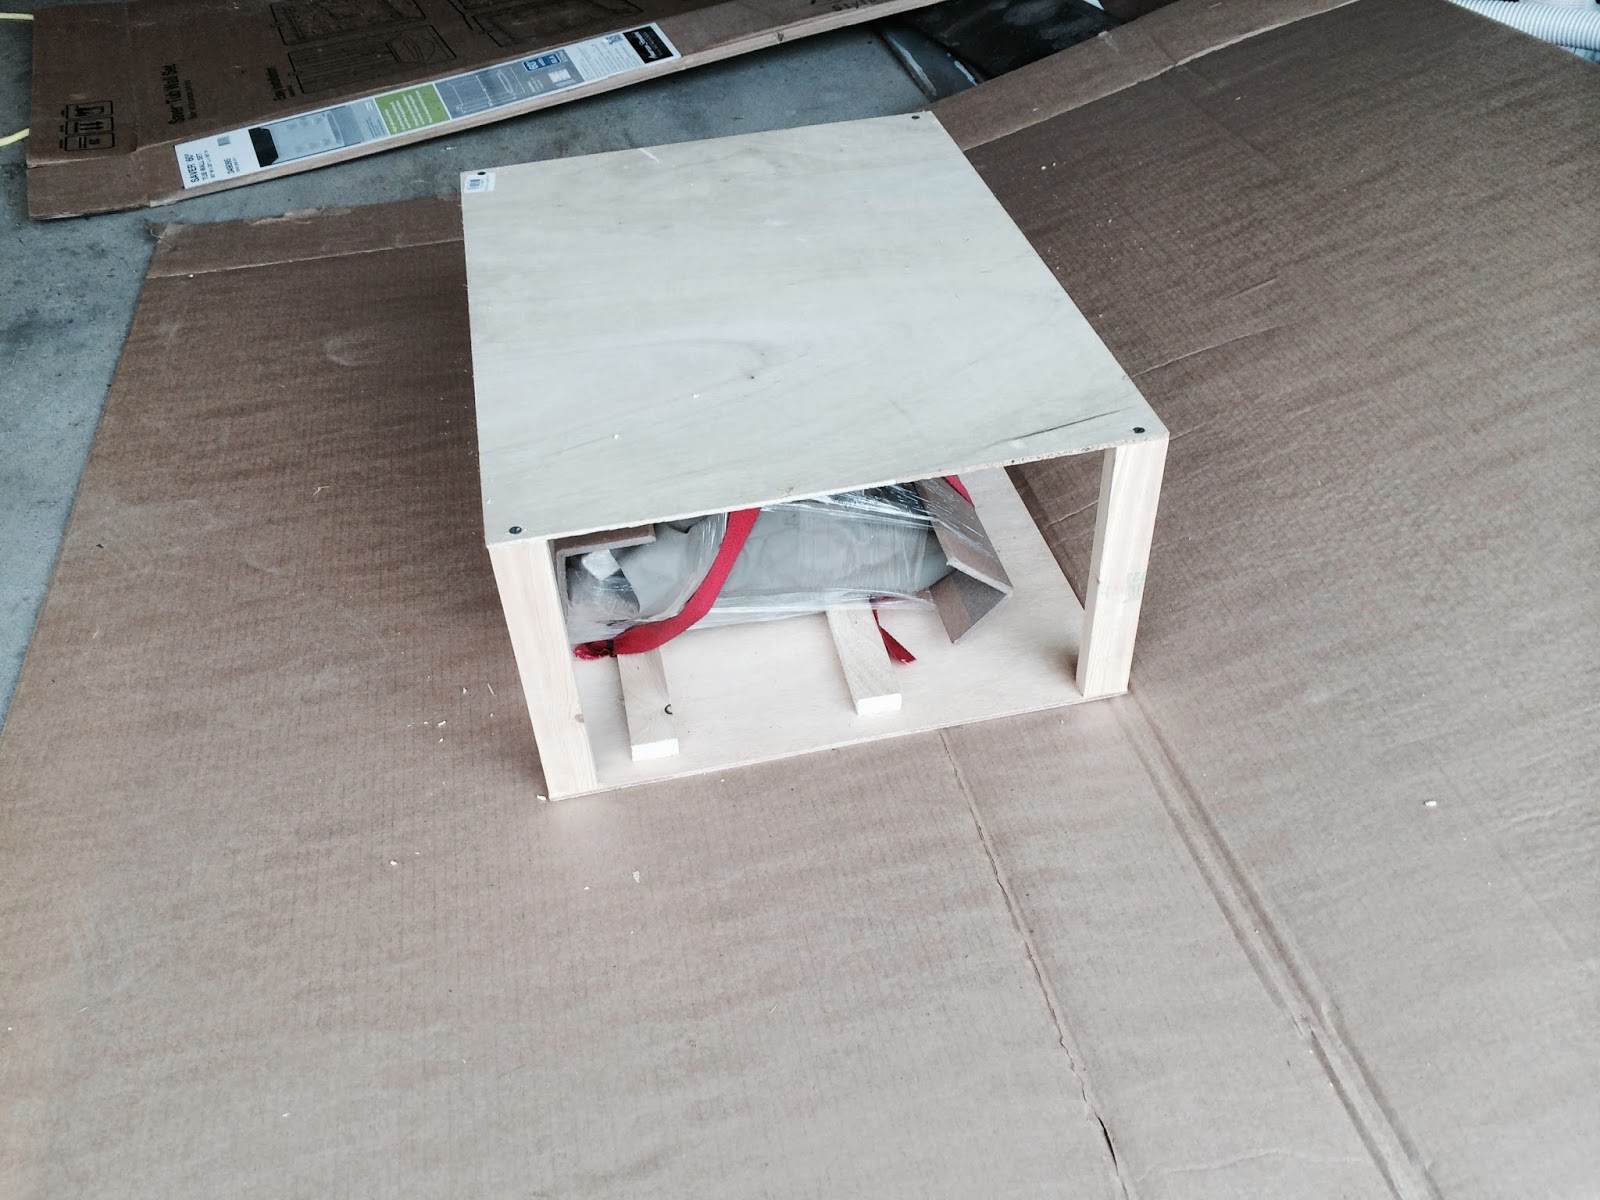
Since the picture was taken, struts have been added on all four sides to solidify the structure.
More to come ...
[added]


UPDATED 5/2/2014


5 pounds under my initial 50lb estimate!!

(Couldn't resist! :)

April 17, 2014 - Any Similarity Between the old Remington Logo andOur's is Purely Intentional
What can I say ... it (the Remington Logo) is a cool logo! :-)

Subscribe to:
Posts (Atom)